RigFlow configuration
The RigFlow Configurations tab in System Configuration Tool allows Super Admins to configure key environment-wide settings. These settings define environment behavior and ensure secure, structured access across all users and roles.
How it looks
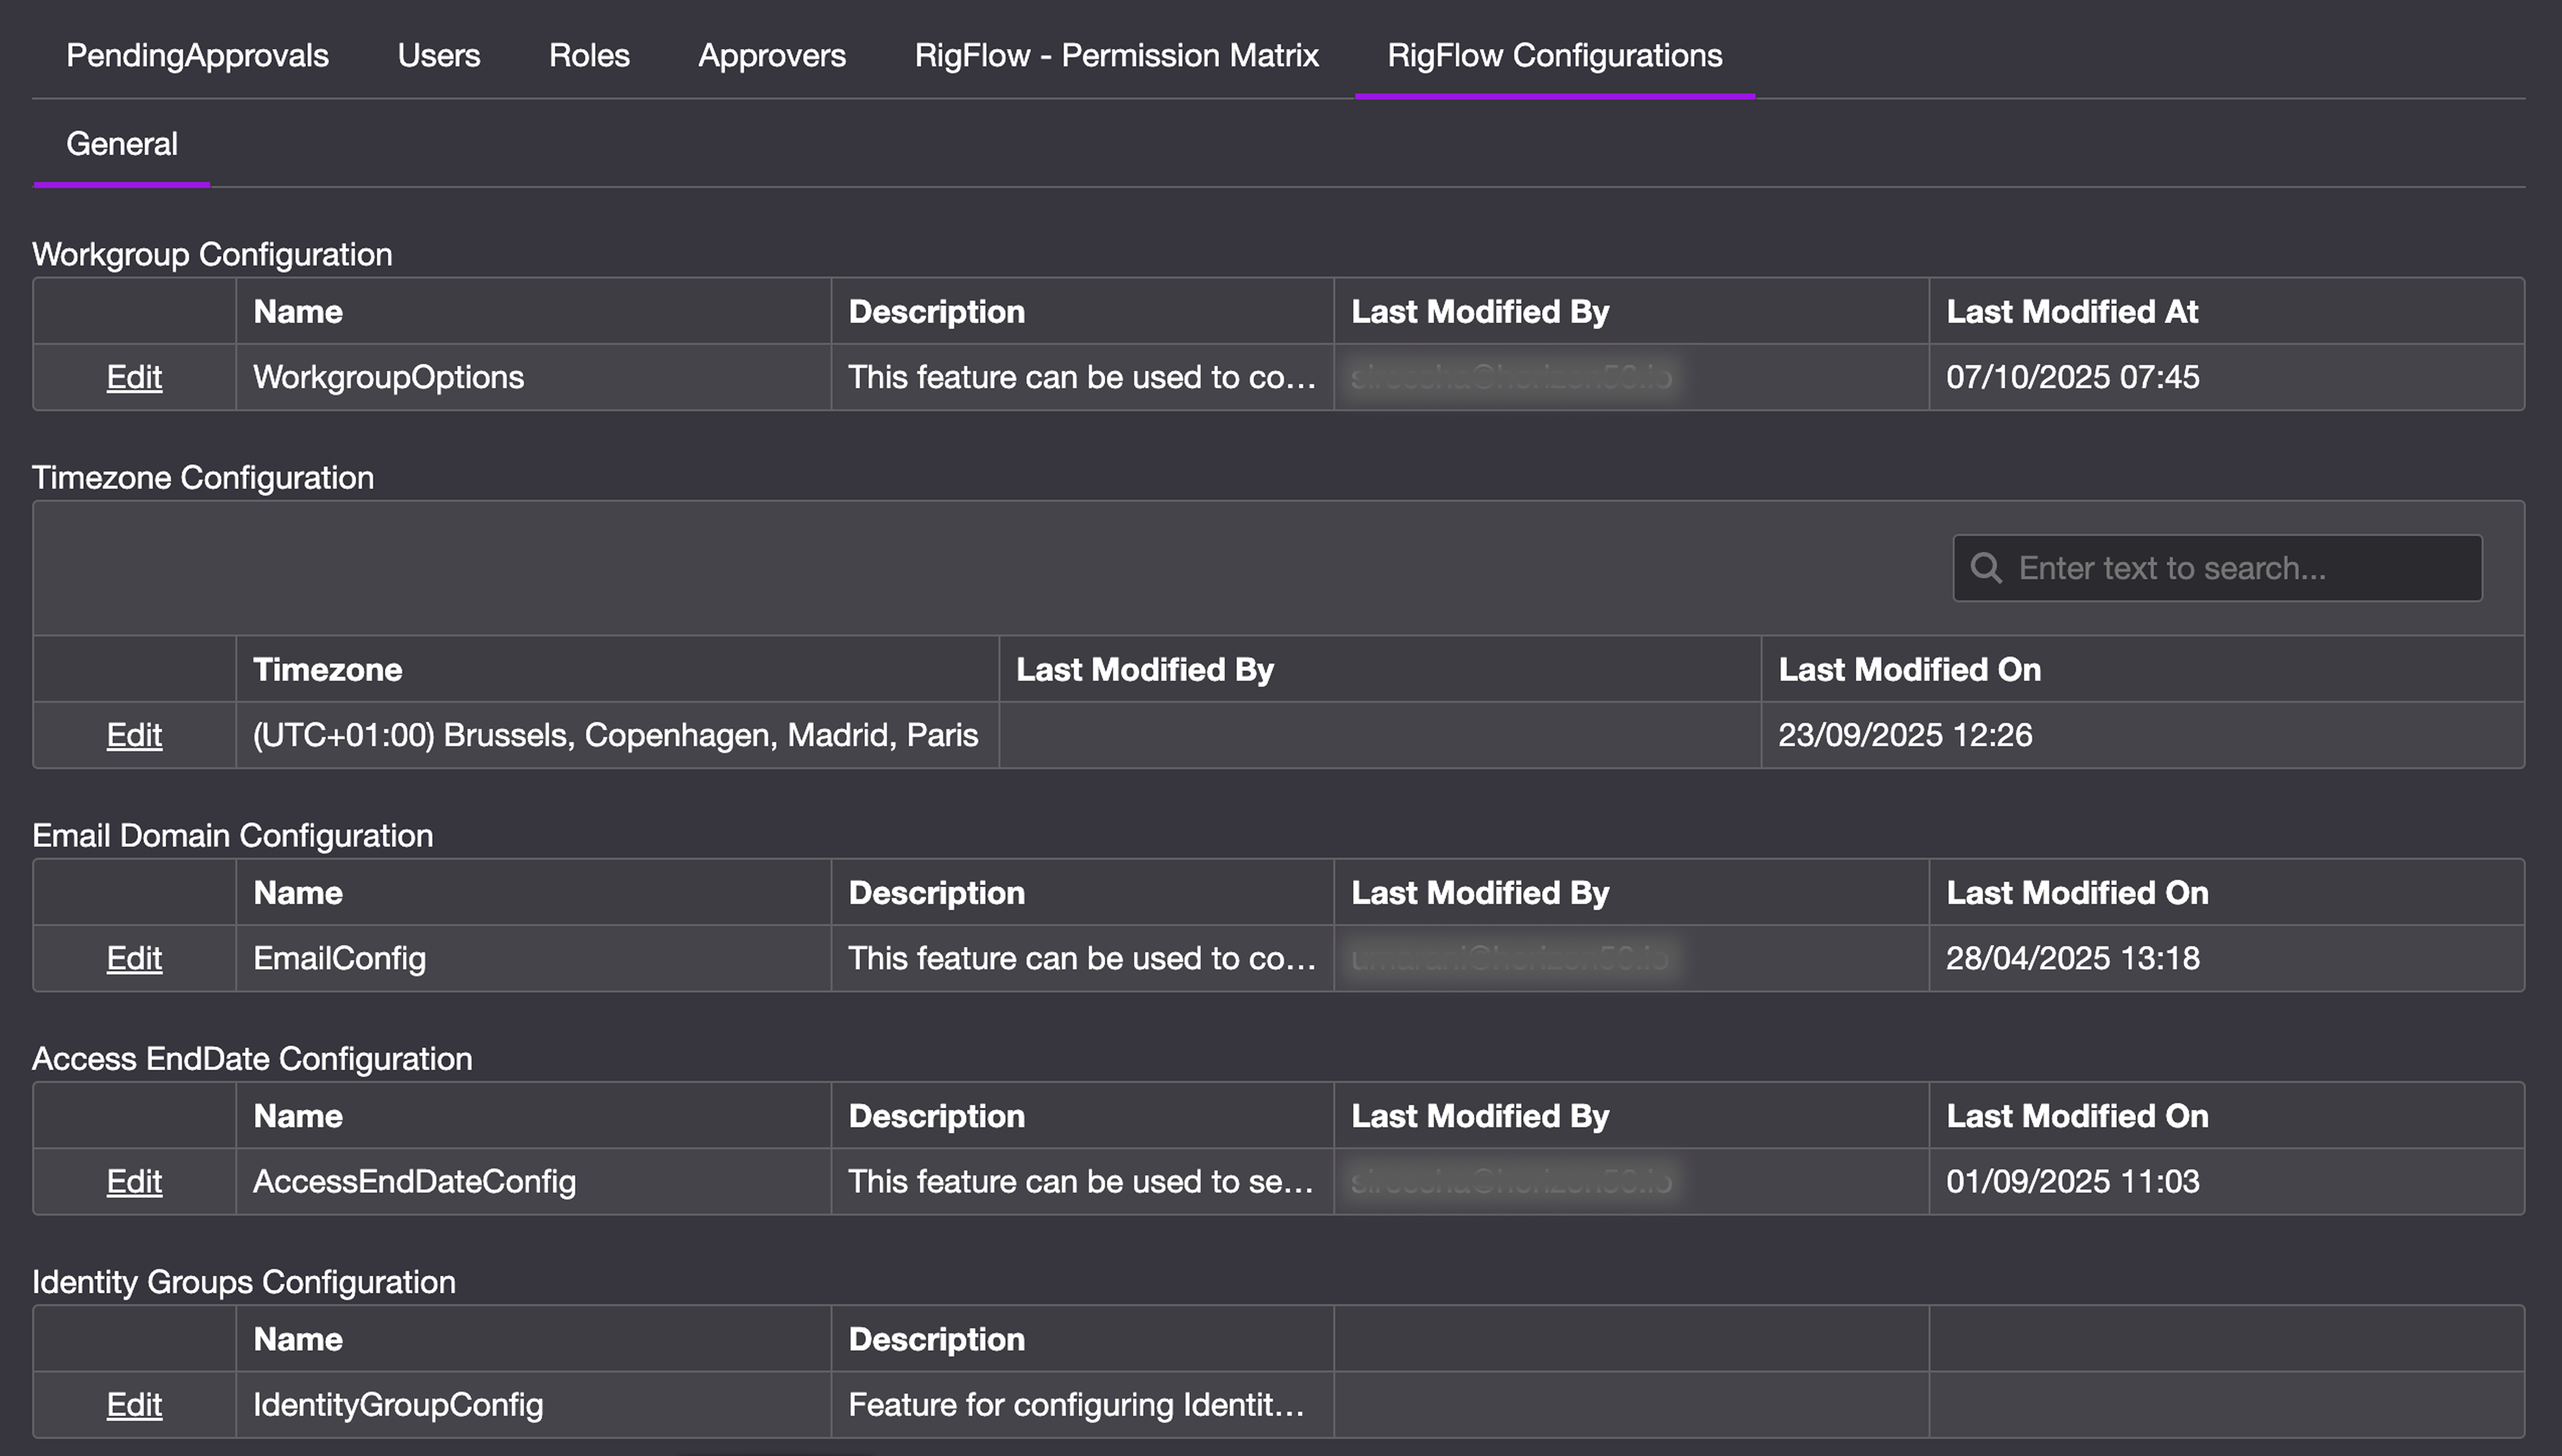
The RigFlow Configurations tab displays a set of configuration tables where each row represents a specific setting or feature that can be managed for your environment. Each row includes the following columns:
Toolbar (left side): Contains icons for editing the settings.
Timezone: Exclusive of the timezone configurator. Displays the currently selected timezone for your RigFlow environment.
Name: The name of the configurator (e.g., Email configuration).
Description: A short explanation of what the configurator does.
Last modified by: The name of the last user who made a change.
Last modified on: The timestamp of the last update.
This tab contains configuration areas such as:
Workgroup Configuration
Enables the management of sensor groupings and workgroup settings directly.
Timezone Configuration
Lets you define the timezone your environment will use. All timestamps across RigFlow—including logs, reports, and test data—will align with the selected timezone in System Configuration.
Email Configuration
Used to control which email domains are allowed or restricted when users request access. This helps limit external or unauthorized entries into the environment.
Access End Date Configuration
Allows Super Admins to set rules for user access durations. You can define:
A default access end date (in days)
A maximum access end date (in days)
Help text when adding days above the maximum number of days
Whether permanent access should be enabled or disabled
Identity Group Configuration
Let you define and manage identity groups, including setting each group’s display name and internal code. These groups help categorize users during access management.
Step-by-step instructions
How to manage workgroups
Open the RigFlow Configurations tab: Navigate to the RigFlow Configurations tab in the System Configuration Tool.
Find the Workgroup Configuration row: Locate the row labeled Workgroup Configuration.
Edit the configuration: Click the Edit icon on the left side of the WorkgroupOptions row.
To add a new workgroup: Click the New link at the top of the table, then complete the form with the required details for the new workgroup. Once finished, click Save to create it.
To edit an existing group: Click the Edit link on the row you want to change, modify the form, and press the Save button.
To delete a group: Click the Delete link next to the group you want to remove, then confirm the action.
How to select a timezone
Find the Timezone Configuration row: Locate the row labeled Timezone Configuration.
Edit the configuration: Click the Edit link on the left side of the TimezoneConfig row.
Select a timezone: From the dropdown menu, choose the timezone you want to apply to your RigFlow environment.
Save changes: Click the Save button at the bottom of the screen to apply the selected timezone. All timestamps across RigFlow will now reflect the selected timezone.
How to add restricted email domains
Open the RigFlow Configurations tab: Go to the RigFlow Configurations tab in the System Configuration Tool.
Find the EmailConfig row: Locate the row labeled EmailConfig in the settings table.
Click the Edit link: Select the Edit link from the toolbar on the left side of the row.
Add a new domain: In the Domain Name table, click the New link at the top left. Enter the domain you want to restrict (e.g., @
external.com) and click the Save link beside the entry to confirm.Save changes: Click the Save button at the bottom to apply the changes. These domains will now be blocked from accessing RigFlow.
To delete a domain: Click the Delete link next to the domain and confirm the action. Be sure to press Save at the bottom of the table afterward to complete the deletion.
Warning
Adding a domain to the restricted list does not delete any existing users who registered with that domain. Those user accounts will remain active unless manually removed.
How to bulk upload restricted domains
Find the EmailConfig row: Locate the row labeled EmailConfig in the configuration table.
Click the Edit link: Select the Edit link from the toolbar on the left side of the row.
Paste multiple domains: Copy a list of domains (from a text file or email), then right-click inside the Domain name table and select Paste. The system will automatically add each domain into its own row.
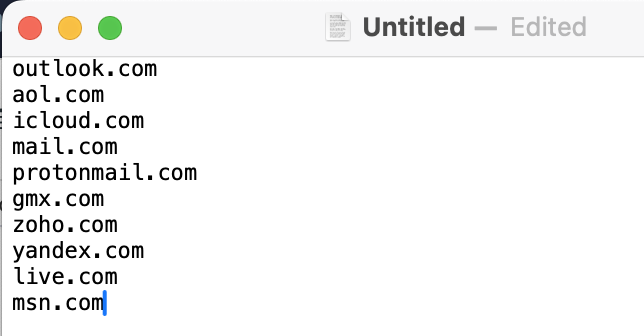
Review and Save: A confirmation of the emails being added will show. Double-check the pasted domains and click Save to apply them in bulk.
How to set access end date rules
Find the Access End Date Configuration: Locate the row labeled AccessEndDateConfig in the configuration table.
Click the Edit link: Select the Edit link from the toolbar on the left side of the row.
Set the Default Access End Date: Enter the number of days users should have access by default (e.g., 180 days).
Set the Max Access End Date: Define the maximum number of days any user can be granted access (e.g., 365 days).
Toggle Permanent Access: Use the toggle switch to enable or disable permanent access for users. When enabled, selected users can be granted access without an expiration date.
Save changes: Click the Save button at the bottom to apply the changes.
How to add, edit, or delete identity groups
Find the Identity Group Configuration: Locate the row labeled IdentityGroupConfig in the configuration table.
Click the Edit link: Select the Edit link from the toolbar on the left side of the row.
To add a new group: In the Identity Group table, click the New link at the top left, then enter a unique Code (e.g.,
DC) and a Display Name (e.g.,Drilling Contractor), and click the Save button at the bottom of the form.To edit an existing group: Click the Edit link on the row you want to change, modify the Display Name or Code, and press the Save button.
To delete a group: Click the Delete link next to the group you want to remove, then confirm the action.
Examples
Set the default access duration to 180 days and the maximum to 365 days to ensure contracts are reviewed annually.
Tips and tricks
Use domain restrictions for security: Block personal or non-company domains (e.g., @
gmail.com) to ensure only valid corporate users can request access.Limit permanent access use: Use the permanent access toggle sparingly—for trusted, long-term users only.
Label identity groups clearly: Use descriptive Display Names and meaningful Codes (e.g.,
WPforWell Planners) for easier tracking and role assignment.
Troubleshooting
Changes not saving? Ensure that after editing a configurator, you click the Save button at the bottom of the settings window. Unsaved edits will be lost.
Deleted domain still appears to work for login? Removing a domain from the restricted list does not remove existing users with that domain. You must manually deactivate or delete those user accounts.