Attachments
It is often necessary to provide more detailed information about the plan from other sources (e.g., a Pipe tally or a BHA diagram). This information is relevant to different locations in the plan and should be easily accessible. You can upload and maintain your attachments under the  Attachment tab on Plan Overview.
How it looks
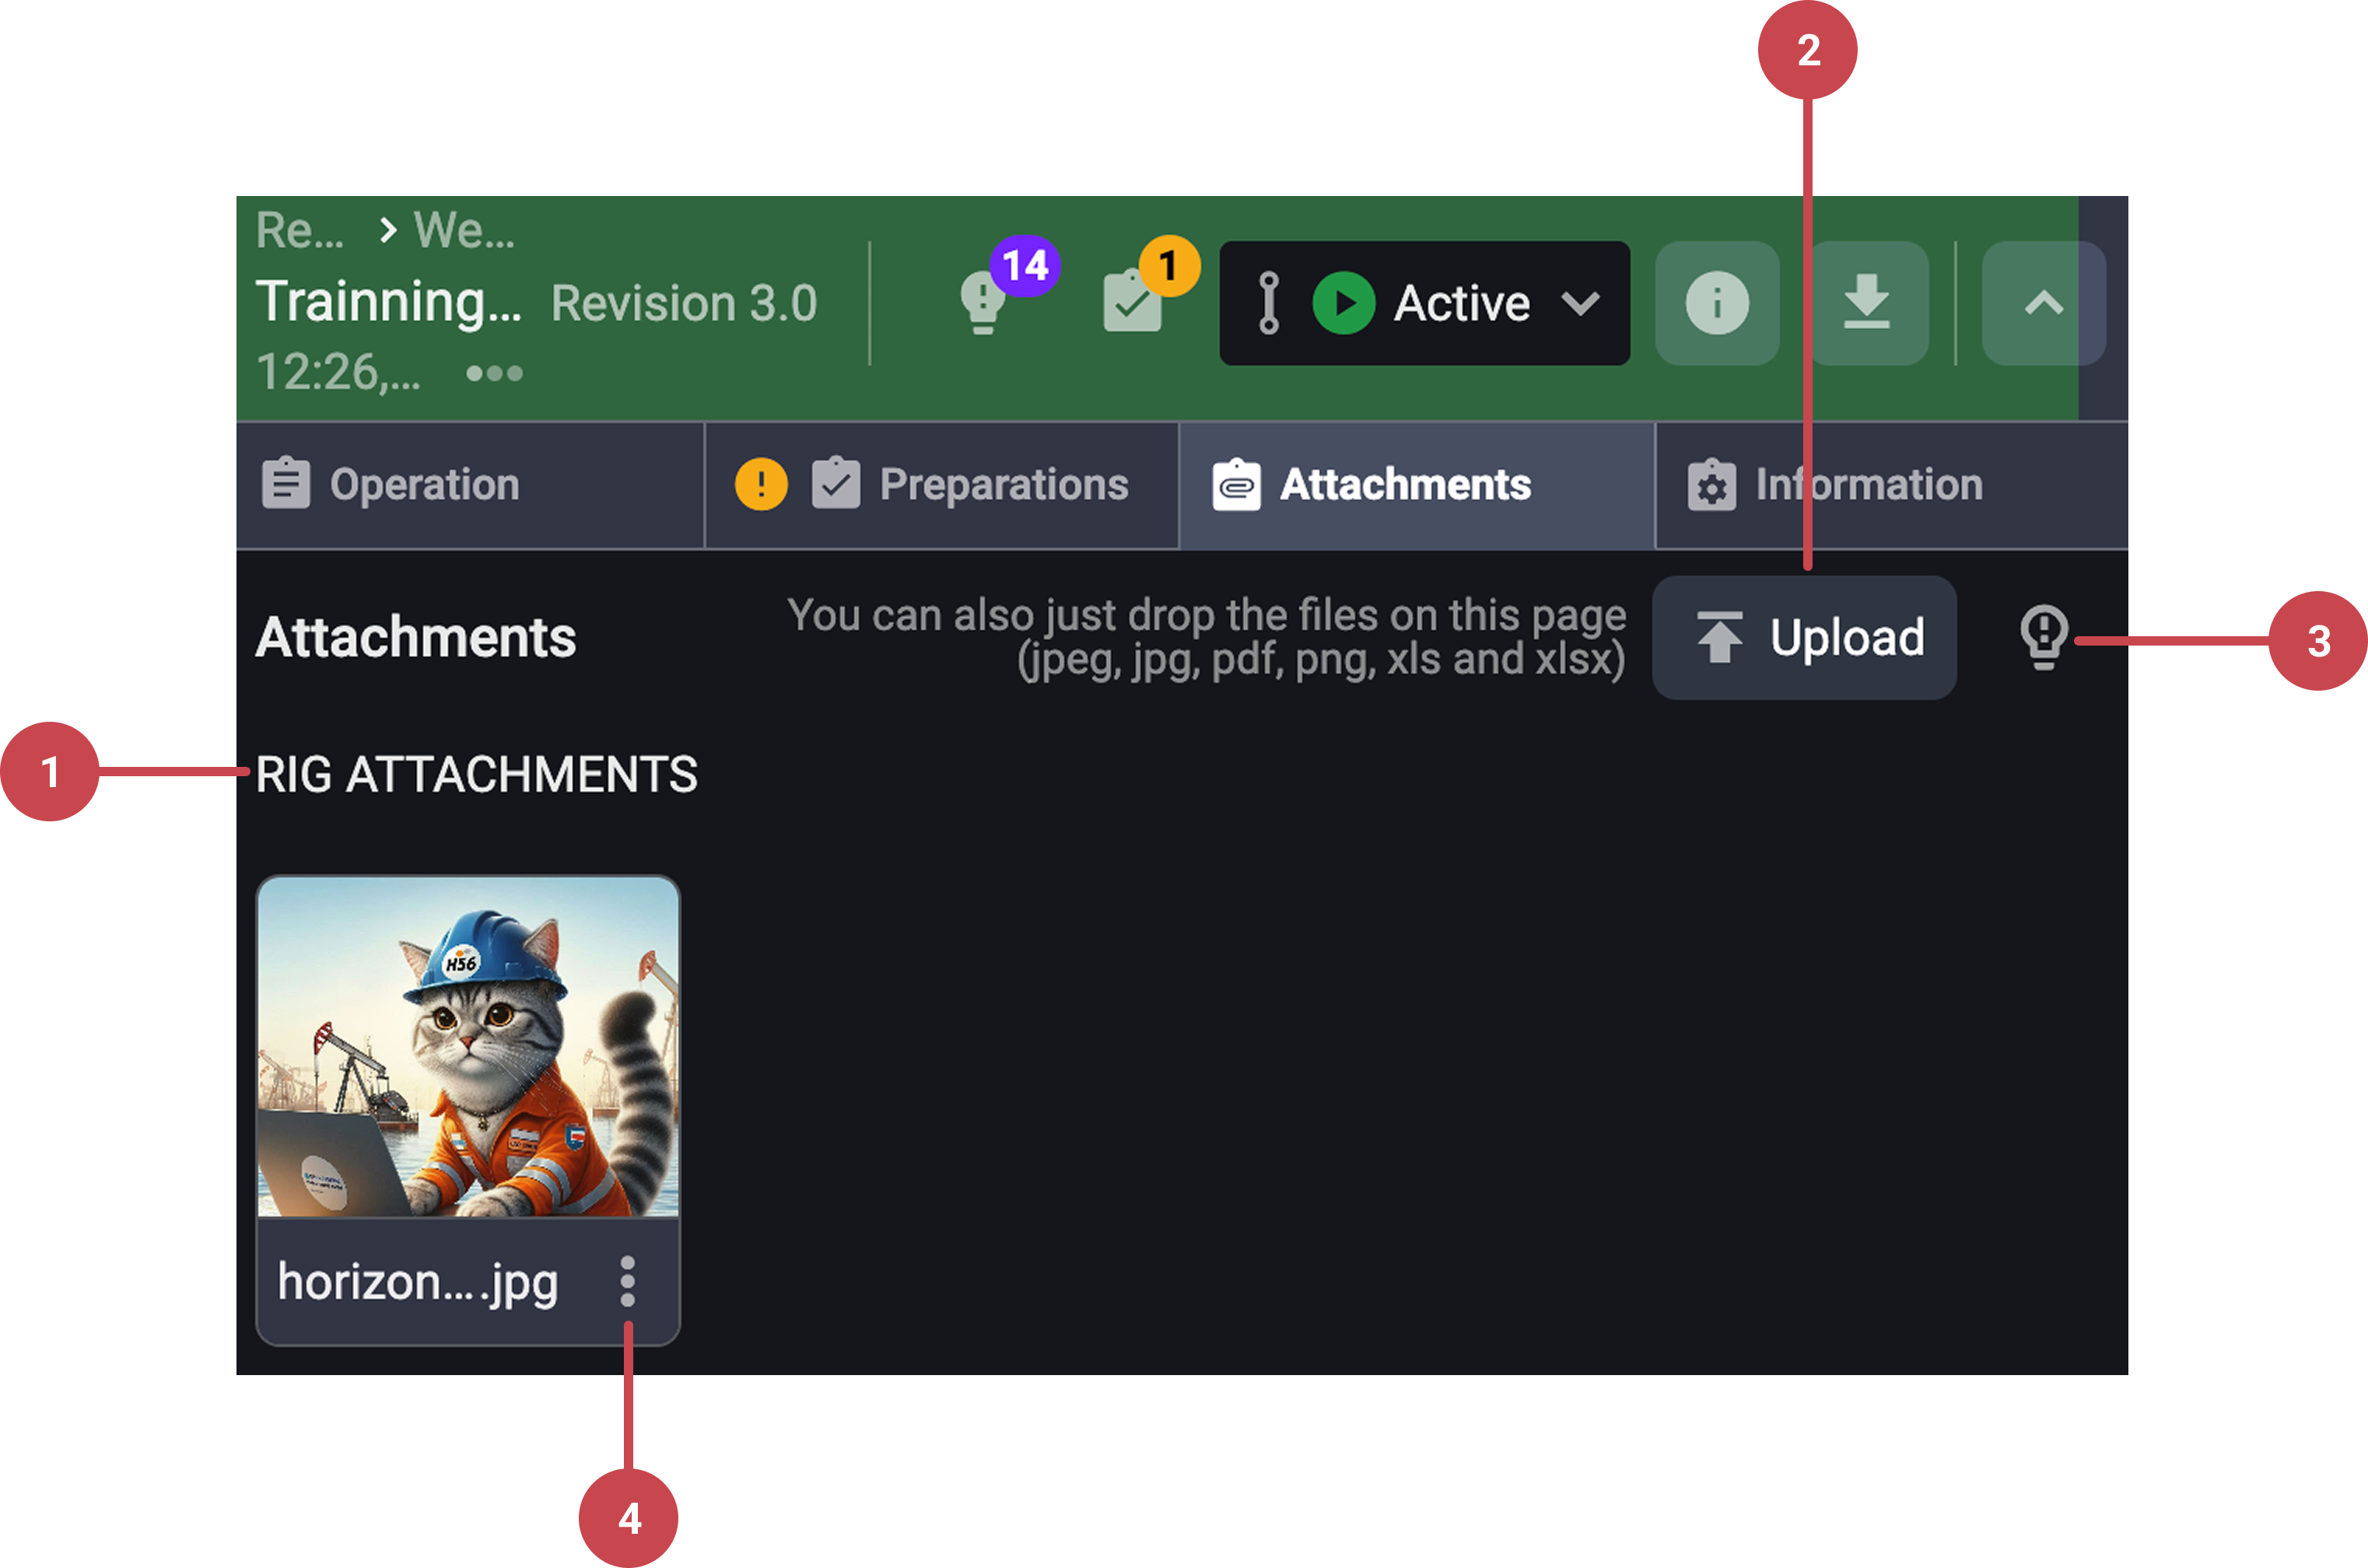
Attachment category title: Attachments in the tab are categorized based on where they were uploaded to ensure clear organization and easy identification:
Rig Attachments: Files uploaded directly within the Attachments tab in RigFlow.
Plan Attachments: Files uploaded on RigBridge (plan creation tool) and linked to the plan.
Notice
Plan Attachments can only be modified or deleted in RigBridge when the plan is unlocked.
 Upload button: Users can upload attachments directly by clicking the Upload button or dragging and dropping files into the designated area.
 Insights Tab: Allows users to add after-action reviews or any other feedback. Read more on Insights.
 Attachment Actions: Menu button to display the available actions on each Rig attachment, it includes:
 Delete: Removes the attachment (only possible if it is not linked to any operation steps).
Notice
Rig Attachments can only be deleted in RigFlow by the person/role that uploaded it.
 Add comment: Enables adding comments or feedback to an attachment for collaboration.
 Rename: Allows the user to modify the name of the attachment.
Each uploaded file appears as a card with a preview image. Above the preview image, floating icons will appear:
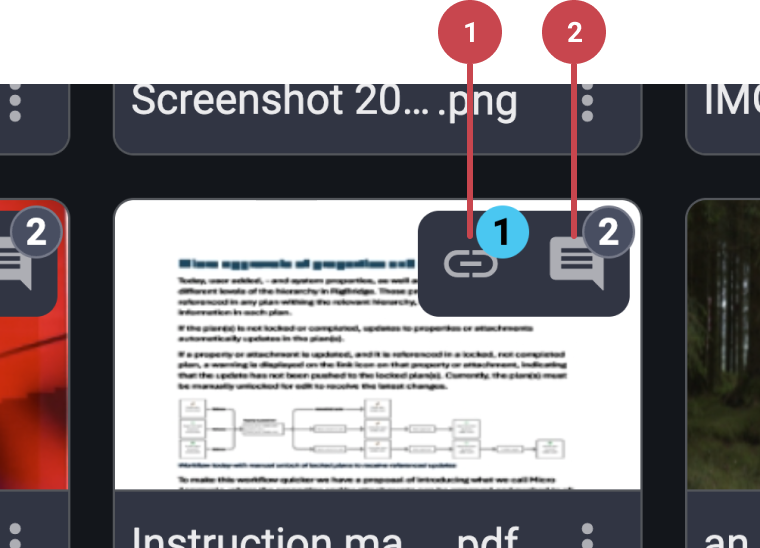
Link icon with counter:
The
 link icon shows that the attachment is connected to one or more steps. Clicking the icon will show which steps it is linked to, and you can click a step name to go straight to it. Remember, you cannot link files from the Attachments tab - files must be uploaded from a step if you want them to be linked.
Comment icon with counter:
The
comment icon appears only if there are comments on the file. A small number on the icon shows how many comments exist. Clicking it opens the comments so you can read them or add your own.
Step-by-Step instructions
Add an attachment
Open the attachment tab: Select the plan card you want to work on and go to the
 Attachments tab to upload, view and manage files linked to that plan.
Upload an attachemement: Click the
upload button or drag and drop your files into the attachments area. After the upload, the file will be automatically added under rig attachments.Rename the attachement: Find the attachment you want to rename and click the
more menu next to the file and choose the rename option. A rename window will appear, enter the new file name and click confirm to save it.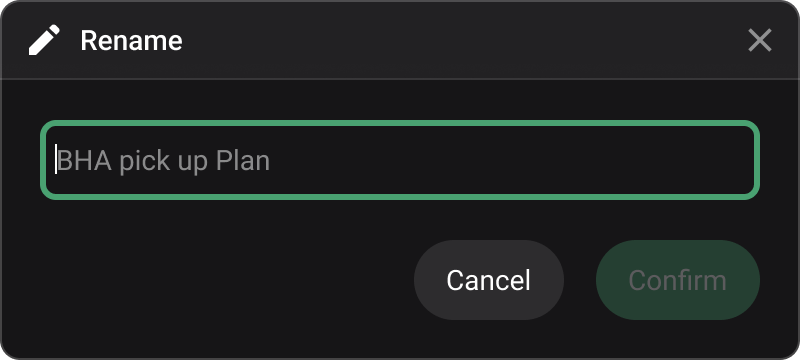
Supported files
Attachments are limited to the following files: PDF, images (jpg, jpeg, png) and Excel (xls and xlsx)
Delete an attachment
If you no longer require an attachment, you can easily remove it from the plan:
Select the attachment you want to delete: On the
Attachments tab within a plan, locate the attachment you wish to delete, and open the  more menu.
Delete the attachment: Once the menu is displayed, click the
 delete icon.
Confirm delete: A modal dialogue box will appear, asking whether you wish to delete the file. Please note that this action cannot be undone. Upon clicking confirm, the file will be permanently removed.
Download an attachment
Select an attachment: Open the
Attachments tab within the chosen plan. Locate the file you want to download and click on the attachment to open it.Download the attachment: In the opened file view, click the
 Download icon. The file will be saved directly to your device.
Docked attachments
Docked attachments allow you to pin frequently used files—such as images or documents—to the Right sidebar. This feature is useful when you need to reference a file multiple times while working. Once docked, the attachment remains easily accessible within the sidebar. You can undock the attachment at any time when it's no longer needed.
Go to the Attachments tab: Open the
Attachments tab inside the Plan overview > Execution.Click the image under the preview column: Select the image by clicking on it; this will open a modal window with a larger preview.
Click the Dock in sidepanel icon: In the top-right corner of the modal, next to the close icon, click the
 Dock in sidepanel icon.
View the docked attachment: The selected document or image will now appear in the Right sidebar under
Docked attachments.Undock the attachment: To remove the item from the sidebar, go to the
Docked attachments section in the Right sidebar.Click the Release from sidepanel icon: Click the
 Release from sidepanel icon to undock the file; it will no longer be shown in the Right sidebar.
Limitations in Attachments
Attachments cannot be linked to Preparations, Parallel activities, Report backs, Operational parameters, or Risks.
It is not possible to add attachments to plans in Draft mode.
Linking is only available for Instructions (under Operation tab), fields in the Information tab, and Procedures.
Batch selection (multiple attachments at once) is not currently supported.