Approvers
The Approvers tab in the System Configuration Tool shows the list of users who have access to System Configuration Tool - not RigFlow.
There are two types of System Configuration Tool administrators:
Super Administrators: Have full access to all System Configuration Tool tabs and can create, edit, or delete other administrators (including other Super Admins).
User Administrators: Have restricted access within System Configuration Tool. They are allowed to add and manage users. Their access is limited to user-related actions; they cannot configure roles, permissions, or global settings.
How it looks
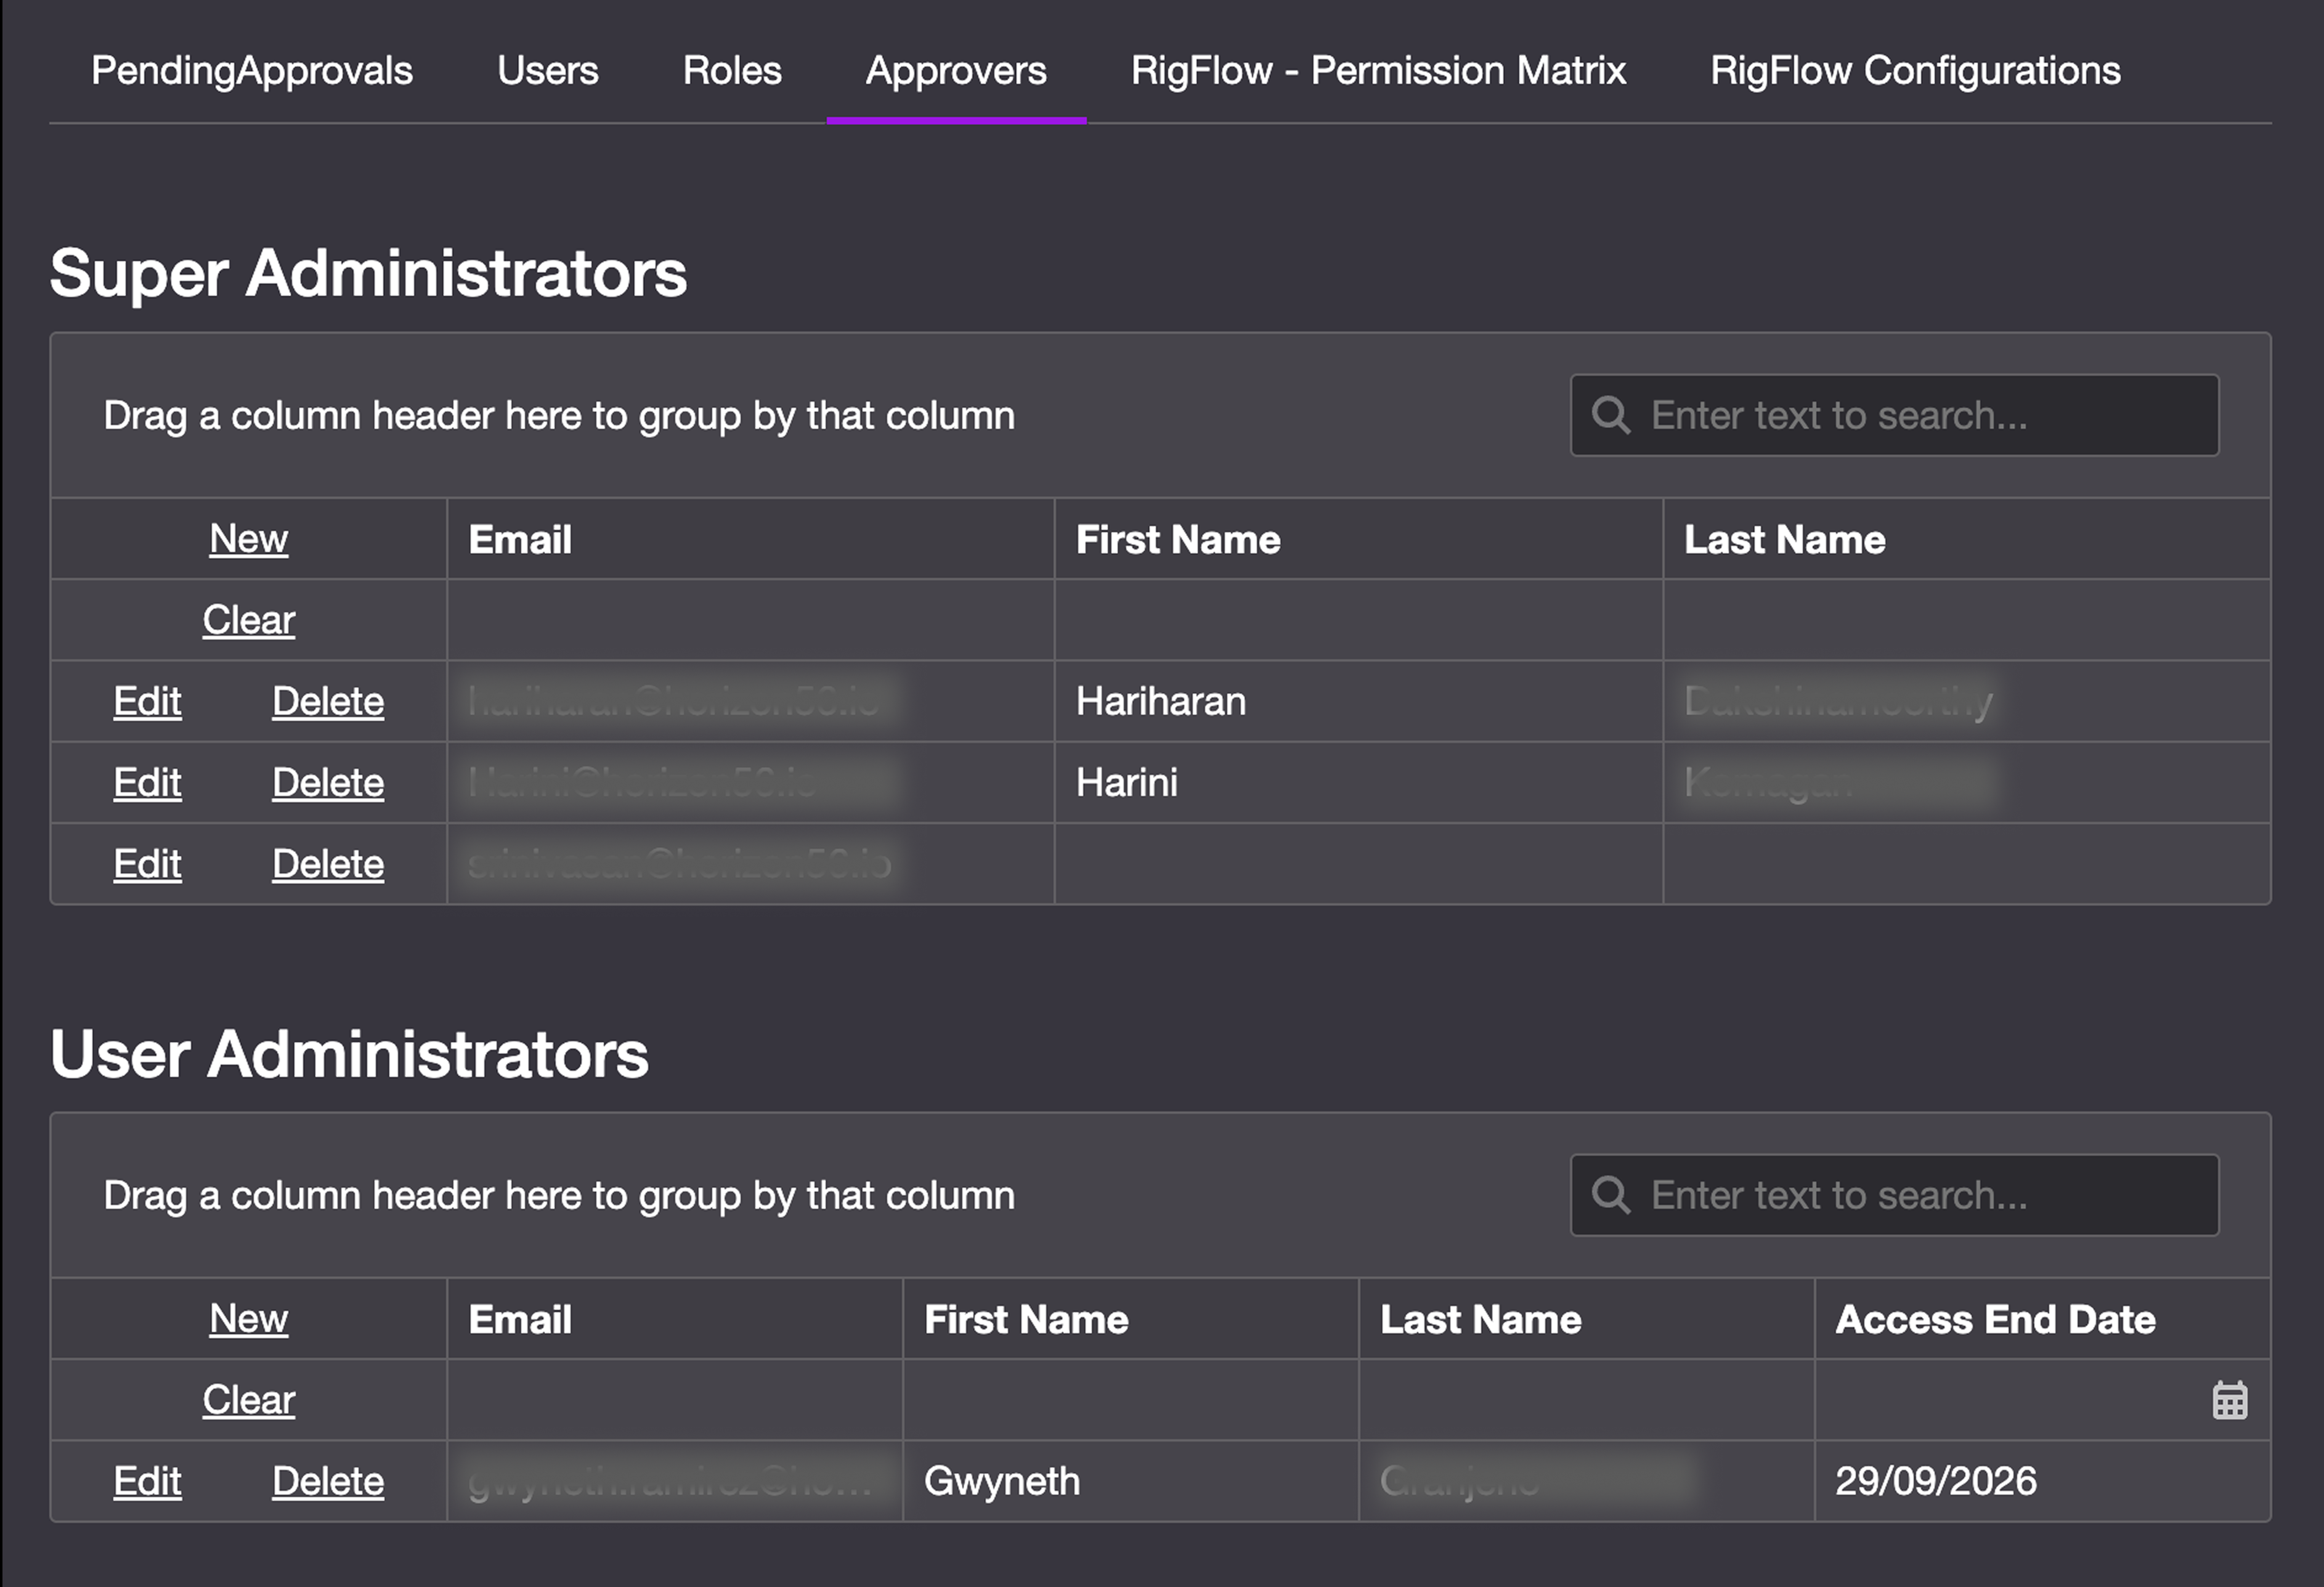
The Approvers tab displays two tables, one listing all Super administrators and one listing User Administrators.
Each row contains a Toolbar, Email, First Name, Last Name, and for User administrators, Access End Date.
Step-by-step instructions
Add an administrator
Go to the Approvers tab: Navigate to the Approvers section from the main top menu.
Click new: Click the New link in the top-left corner of the table, next to the Email column.
Fill in administrator details: Enter the user's Email, First Name, and Last Name. (Note: the user must already exist under the Users section in the top menu). If adding a User Administrator, you must also assign their Access End Date.
Save the new administrator: Click Save to confirm. The new admin will appear in the Approvers list and receive an email with login instructions.
Edit an administrator
Go to the Approvers tab: Navigate to the Approvers section from the main top menu.
Locate the administrator: Use the search fields on each column, at the top of the table, to find the specific administrator by e.g. email, first or last name.
Click edit on the administrator row: Click the link Edit in the left side of the row. This will open the editable fields for that administrator.
Update details: You can modify fields like First Name and Last Name as needed. Email and Access End Date cannot be edited once the administrator has been created.
Save changes: Click the button Save to apply the edits.
Delete an administrator
Go to the Approvers tab: Navigate to the Approvers section from the main top menu.
Locate the administrator: Use the search fields on each column, at the top of the table, to find the specific administrator by e.g. email, first or last name.
Click delete on the administrator row: Click the link Delete in the left side of the row. Confirm you want to delete the administrator.
Tips and tricks
Super Admins should manage critical settings: Limit Super Admin access to key personnel who understand the full implications of configuration changes.
Review the admin list often: Make sure roles are up to date and aligned with current responsibilities.
Troubleshooting
Can’t manage admins? Only Super Admins can add, remove, or update administrator roles.
Changes not saved? Double-check all required fields are filled and click Save.