Well view for execution
The Well View in WellNav provides a visual representation of the wellbore and all key entries associated with depth. It is used during execution to help the crew understand what is currently in the hole and identify risks or events to be aware of before or during operations. This view supports safe decision-making by showing real-time bit position in relation to geological markers, rig team entries, and other depth-based information.
How it looks
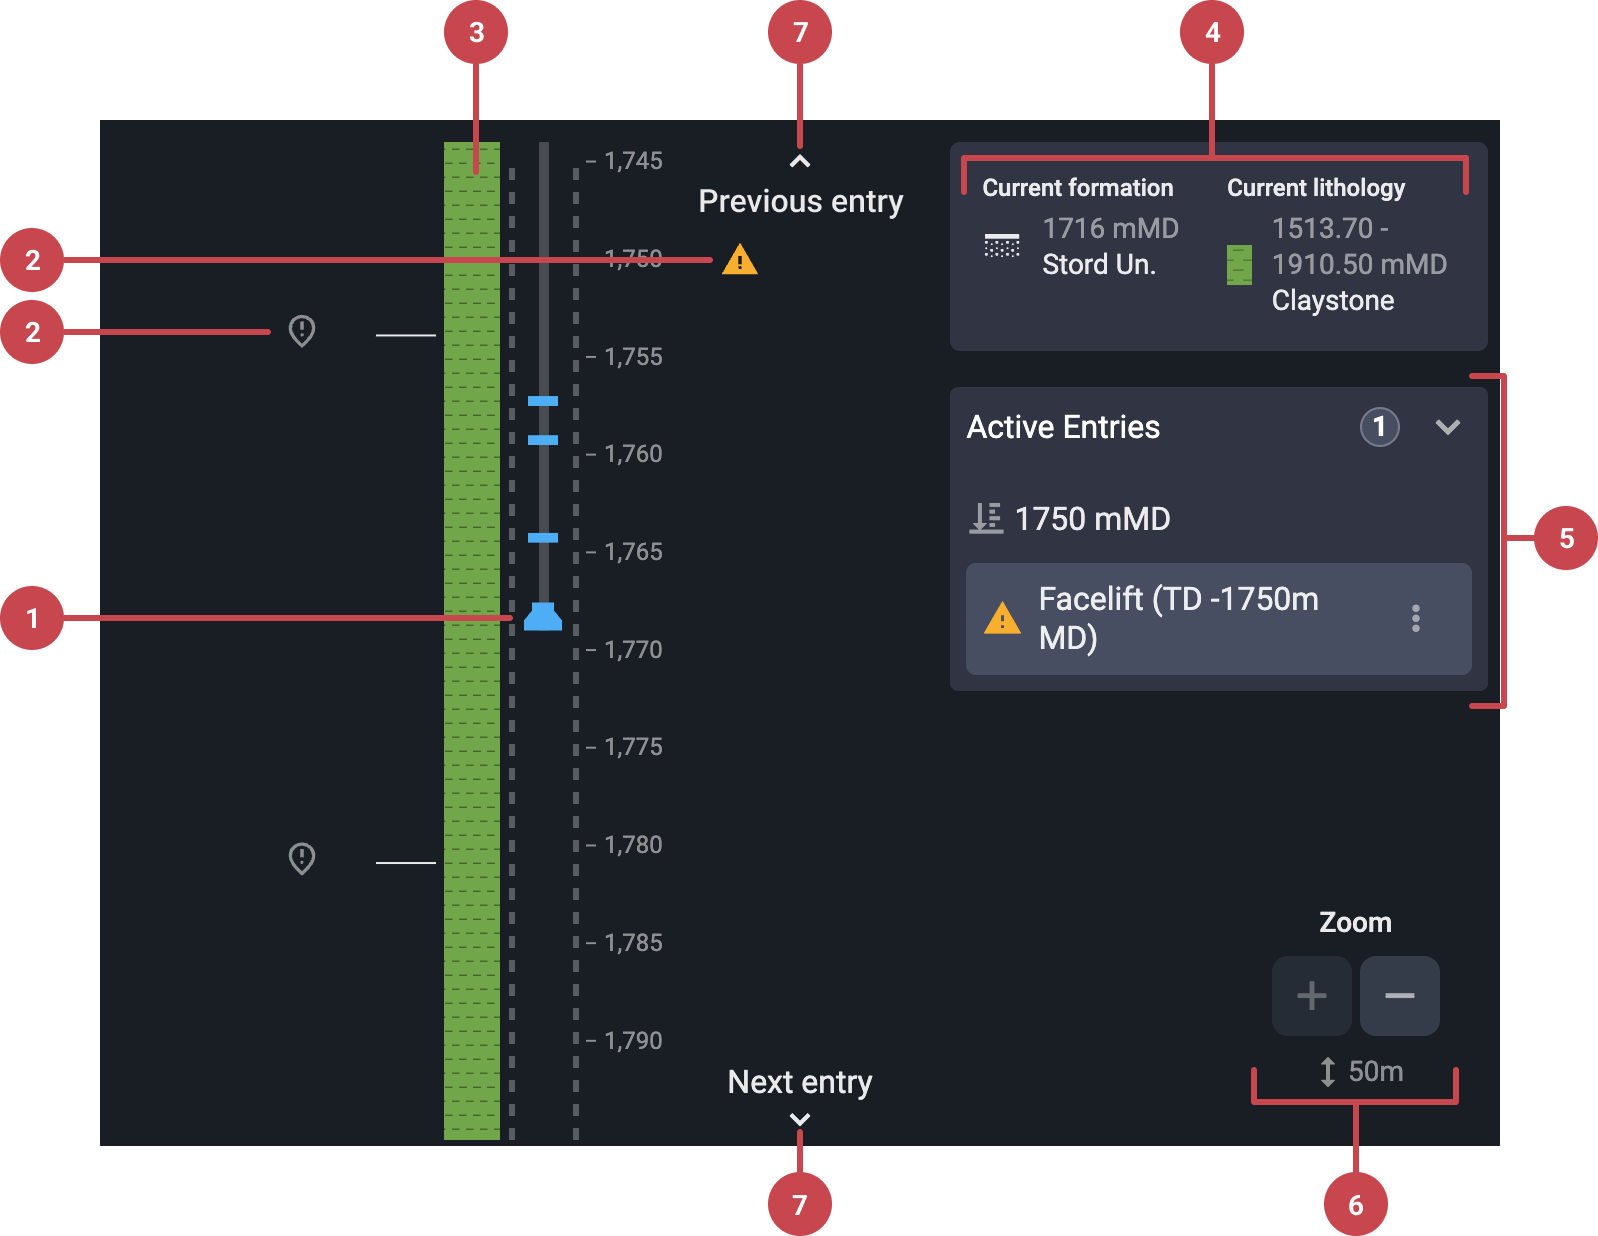
The Well View displays a vertical schematic of the wellbore. Entries are shown as labeled markers along a depth scale. The following elements are visible:
Bit position: Shows the current bit depth, if live data is enabled.
Entry types: Includes markers for surveys, formation tops, entries such as events or risks.
Lithology: Shown with colors and symbols that represent different lithology layers in the well. Hover over the lithology column to the left of the wellbore to view more details.
Current formation and lithology: Displays the formation name and lithology. Useful for confirming drilling conditions and transitions.
Active entries: Highlights entries located at or near the current bit depth. This draws attention to immediate features or risks to be aware of.
Zoom in/out: Allows the user to adjust the zoom scale to either get a detailed view or a broader overview of the well.
Previous and next entry: Navigate between entries quickly using arrow controls. This helps in reviewing upcoming or recently passed entries without scrolling manually.
Tip
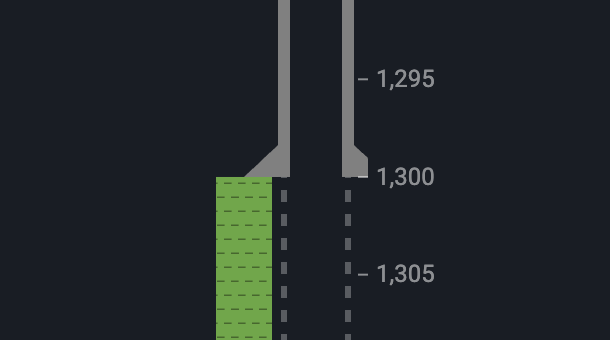
There is clearly marked distinguish between cased and open hole.
Note
To maintain simplicity, all wellbores, including deviated ones, are depicted as vertical.
Step-by-step instructions
Filter the Well View
Open Filter View: Go to WellNav and click the
 Well View icon in the top navigation bar (if you're not already in Well View).
Locate the filter: In the top navigation of the Well View, click the
 Filter list icon.
Select filter criteria: Use the toggles to filter by Geology Team Entries, RigFlow Entries, Surveys, and Lithology.
Apply filters: The Well View will automatically update to show only the entries that match your selected filters. When filters are active, the top navigation will display a green button with the label Filter active.
Clear filters: To remove all filters and display every entry again, click the
 remove icon located to the right of the Filter active button.
Tips and tricks
Combine the Well View with the Table View for full depth and detail review.
Always verify the bit depth display is live and accurate if using it to guide operations.
Zoom in/out on the depth scale to focus on specific sections or get a full overview.