How to use Points of Interest (POI)
Points of Interest (POIs) allow you to define and track specific components along the drill string, such as the bit, stabilizers, or jars. This is especially helpful for visualizing where key tools are located during operations and for planning tool movement relative to the bottom of the string.
How it looks
The POI interface is accessed from the top navigation in WellNav. Each POI is listed by name with a distance value, showing its position relative to the bottom of the string. You can add, edit, delete, or copy POIs between plans.
Step-by-step instructions
Create a new POI
Navigate to POIs: Click on String Points of Interest in the WellNav top navigation.
Select a plan: Choose a plan from the dropdown menu.
Edit the first POI: If needed, modify the text for the first added POI (default is set to Bit).
Access the POI menu: Click on the
 More menu icon.
Edit and save: Click
 Edit, change the text as desired, and then click
  Save to apply the changes.
Add a new POI: Enter a name for the POI and specify its distance from the bottom of the string.
Save the new POI: Click
Save to add the POI.Repeat as needed: Continue adding POIs by repeating step 4 for each additional POI you want to include.
Edit a POI
Locate the POI: Find the POI you want to modify.
Access the POI menu: Click on the
More menu icon.Edit and save: Click
Edit, change the text, and as desired, change the distance from the bottom of the string. Then, click Save to apply the changes.
Copy and paste POIs
For greater efficiency, you can copy a BHA setup from one plan to another, particularly when similar BHAs are used across multiple plans.
Locate the source plan: Find the plan that contains the Points of Interest (POIs) you want to copy.
Copy POIs: Click on the
 Copy icon to copy the entire POI list. This will copy the list to your clipboard.
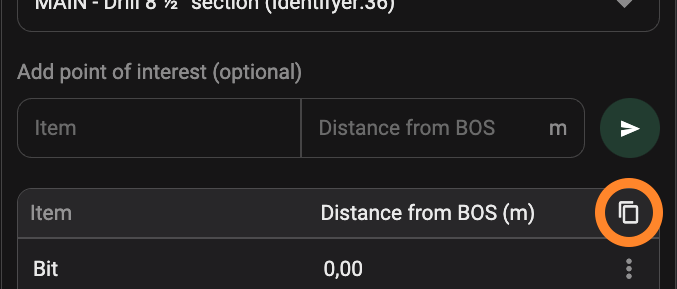
Select the target plan: From the dropdown menu, choose the plan where you want to paste the POIs.
Paste POIs: Click on the
 Paste icon to insert the copied POI list into the new plan.
Modify as needed: You can now make any necessary changes to the POIs in the new plan.
Delte a POI
Locate the POI: Find the POI you want to delete.
Access the POI menu: Click on the
More menu icon.Delete the POI: Click
 Delete.
Confirm deletion: Confirm that you want to delete the POI.
Tips and tricks
Use consistent naming conventions across plans for easier tracking.
Copy and paste POIs when BHAs are reused to save time.
Ensure distances are accurate to maintain string visualization integrity.