Selecting and Navigating Wellbores
In WellNav, users can switch between different wells and wellbores. This function is used to preview upcoming operations, review past entries, or return to the currently active well.
How it looks
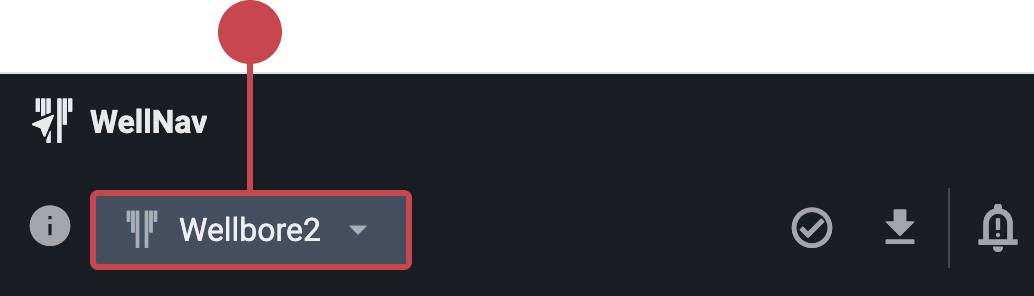
The wellbore selector is located at the top of both the Table View and Well View. It appears as a drop-down list that shows available wells and wellbores from the geology team’s database.  Three dots indicate the active well, and the currently selected wellbore is highlighted in blue.
Step-by-step instructions
Change to another wellbore
Open the wellbore selector: Click the well name at the top of either Table View or Well View.
View available wells: The drop-down shows all wells provided by the geology team. The currently active well is marked with
three dots.Select a wellbore: Click the desired well and wellbore. The selected wellbore will be highlighted in blue and loaded.
Return to the active plan
Open the wellbore selector: Click the well name at the top of either Table View or Well View.
Return to the active well: Select the well marked with
three dots.Alternative method: Use the Show active well button, available in both views, to return directly to the current wellbore.

Examples
Use the wellbore selector to check progress on a completed well.
Select a planned wellbore to verify and set up events prior to operations starts.