How to use entries
Create a new entry
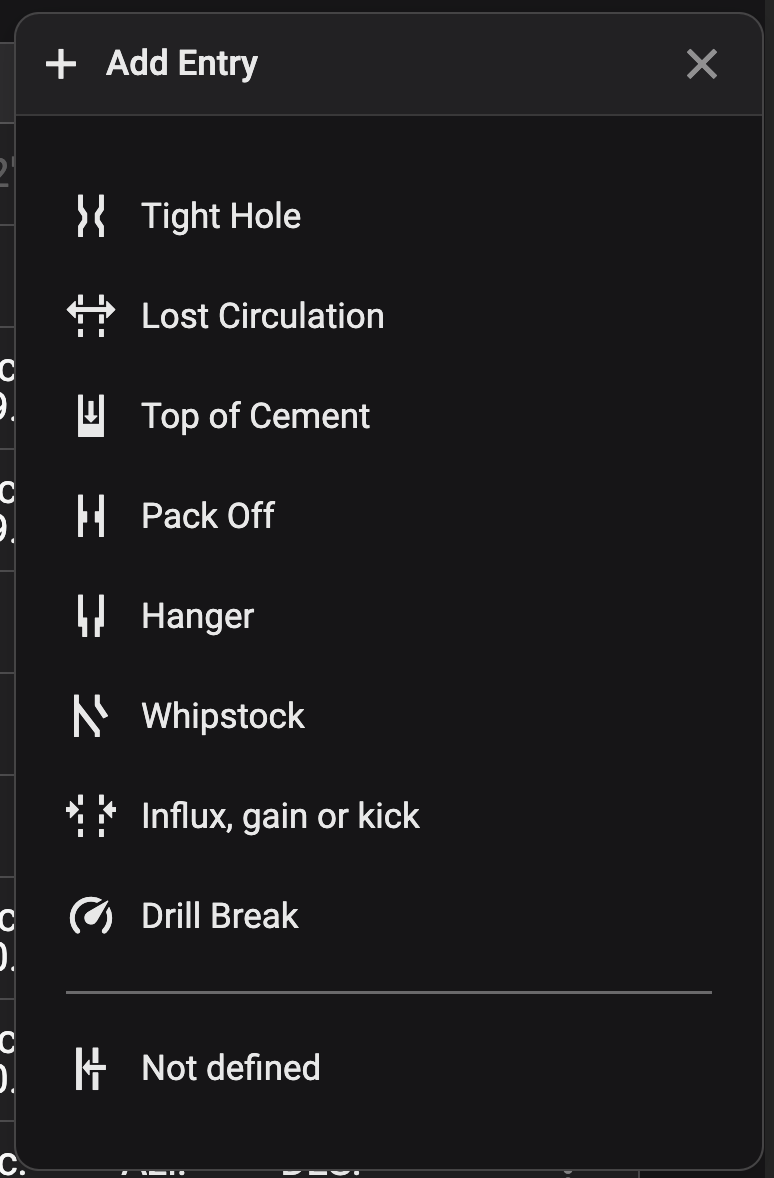
Add an entry: Click the
 Add icon in the WellNav top navigation.
Select entry type: Choose the entry type from the predefined list, or select Not defined if none of the options match your scenario.
Enter depth information:
Type in the Depth from value (the current bit depth is shown below).
Optionally, enter a Depth to value if the entry covers a depth range.
Add a description (optional): You may add a description to provide more details about the entry.
Include as comment (optional): If applicable, select Include as an operational comment on active step to add this as a comment to the active step in the plan.
Save the entry: Click the Add entry button.
Entry added: The entry will now appear in both the table and well views.
Proactive Safety Measures
To receive alerts when the string approaches the Blowout Preventer (BOP), add BOP as a non-defined entry. This proactive step enhances safety and preparedness.
Edit an entry
Locate the entry: Find the entry you want to modify.
Access the entry menu: Click on the
 More menu icon.
Edit and save: Click
 Edit, change the depth information, description and comments as desired. Then, click
  Save to apply the changes.
Delete an entry
Locate the entry: Find the entry you want to delete.
Access the entry menu: Click on the
More menu icon.Delete the entry: Click
 Delete.
Confirm deletion: Confirm that you want to delete the entry.
Note
Only entries created by the rig team can be deleted.