Attachments
It is often necessary to provide more detailed information about the plan from other sources, e.g., a Pipe tally or a BHA diagram. This information is relevant to different locations in the plan and should be easily located. You can upload and maintain your attachments under our  Attachment tab.
Note
When you upload attachments on RigFlow, they will be identified as "Rig attachments". However, if you upload attachments from RigBridge, they will be identified as "plan attachments". It is important to note that you can only delete or modify “plan attachments” from RigBridge when the plan is unlocked for editing. Furthermore, deleting an attachment from RigBridge in RigFlow is not possible.
To add an attachment to a plan:
Navigate to the Attachments tab within the Plan editor.
Click the Upload button or drag and drop your files into the Attachments area.
After the upload, the file will be added under RigFlow Attachments.
Supported files
Attachments are limited to the following files: PDF, images (jpg, jpeg, png) and Excel (xls and xlsx)
If you wish to replace or update an attachment with a newer version, there are some simple steps to follow:
Navigate to the Attachments tab within the Plan editor.
Locate the attachment you wish to exchange and click the
 More icon.
A menu will show. Click the
 Replace icon.
Select your new file and upload it.
The old attachment will be replaced with the newly uploaded one.
If you no longer require an attachment, you can easily remove it from the plan.
Here is how you delete an attachment from the plan:
Navigate to the Attachments tab within the Plan editor.
Locate the attachment you wish to delete and click the
More icon.A menu will show. Click the
 Delete icon.
A modal dialogue box will appear, asking whether you wish to delete the file. Please note that this action cannot be undone.
Upon clicking Confirm delete, the file will be permanently removed.
Navigate to the Attachments tab within the Plan editor.
Locate the attachment you wish to download and click on it.
The file will show. Click on the
 Download icon.
The file will be downloaded to your device.
Sometimes, the filename doesn't tell you what the file contains.
Navigate to the Attachments tab within the Plan editor.
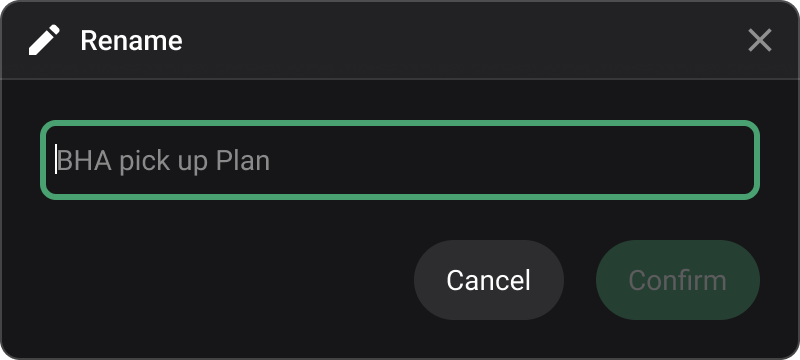
Locate the attachment you wish to rename and click the
 Rename icon.
A window will show where you can write a new name for the file. Click Confirm when done.
Limitations in Attachments
It's not possible to link attachments such as preparations (checklists), parallel activities, and risks in place. The only places likely to link an attachment are the instructions under the operation tab and all fields in the information tab. The linking of an attachment is based on whether there is a text editor.
Currently, we do not offer the option to select multiple (batch) plans and download them as a package of PDFs.